

Hey there! I'm a supplier of 6 - person electric golf carts, and I know how crucial it is to keep these carts in top - notch condition. One of the most important parts to check regularly is the brakes. In this blog, I'll walk you through how to check the brakes of a 6 - person electric golf cart.
Why Brakes Matter
First off, let's talk about why brake checks are so important. Brakes are your safety net when you're on the golf course or anywhere else you're using your 6 - person electric golf cart. A malfunctioning brake can lead to accidents, which can be dangerous for everyone on board. Whether you're going downhill or just need to stop suddenly, reliable brakes are a must.
Tools You'll Need
Before you start checking the brakes, you'll need a few tools. You'll want a jack to lift the cart safely, a lug wrench to remove the wheels, a brake cleaner, a set of wrenches, and a flashlight. Having these tools handy will make the whole process a lot easier.
Pre - check Safety Measures
Safety first! Make sure the golf cart is parked on a flat, stable surface. Turn off the power and set the parking brake. Put on some safety glasses and gloves to protect yourself from any debris or chemicals. It's also a good idea to chock the wheels that you're not going to lift to prevent the cart from rolling.
Step 1: Inspect the Brake Pads
The brake pads are one of the most critical components of the braking system. Start by using the jack to lift one side of the golf cart. Use the lug wrench to remove the wheel. Once the wheel is off, you'll be able to see the brake pads.
Look at the thickness of the brake pads. If they're less than 1/8 of an inch thick, it's time to replace them. You can use a ruler or a brake pad wear gauge to measure the thickness. Also, check for any signs of uneven wear. Uneven wear can indicate a problem with the caliper or the brake lines.
If the brake pads are dirty or greasy, you can use a brake cleaner to clean them. Spray the cleaner on the pads and let it sit for a few minutes. Then, use a clean cloth to wipe away the dirt and grime.
Step 2: Check the Brake Calipers
The brake calipers are responsible for squeezing the brake pads against the rotors to slow down or stop the cart. Inspect the calipers for any signs of damage, such as leaks or cracks. If you see any fluid leaking from the caliper, it's a sign that there's a problem.
Check the caliper pistons to make sure they're moving freely. You can do this by gently pushing on the pistons with a flat - head screwdriver. If the pistons don't move or are difficult to move, it could mean that they're stuck or there's a problem with the brake fluid.
Step 3: Examine the Brake Lines
The brake lines carry the brake fluid from the master cylinder to the calipers. Look for any signs of leaks, cracks, or corrosion on the brake lines. If you see any fluid leaking from the lines, it's a serious problem that needs to be fixed immediately.
You can also check the flexibility of the brake lines. They should be flexible but not too soft or spongy. If a brake line feels hard or brittle, it may need to be replaced.
Step 4: Test the Brake Fluid
The brake fluid is essential for the proper functioning of the braking system. Locate the brake fluid reservoir, which is usually near the master cylinder. Check the fluid level. The fluid should be between the “min” and “max” marks on the reservoir.
If the fluid level is low, it could mean that there's a leak in the system or that the brake pads are worn out. If the fluid looks dirty or has a dark color, it may need to be flushed and replaced. You can use a brake fluid tester to check the quality of the fluid.
Step 5: Check the Parking Brake
The parking brake is an important safety feature. Test the parking brake by engaging it and trying to move the cart forward or backward. The cart should not move. If the parking brake doesn't hold, it may need to be adjusted or repaired.
Step 6: Reassemble and Test Drive
Once you've completed all the checks and made any necessary repairs or replacements, it's time to reassemble the wheels. Make sure the wheels are tightened properly using the lug wrench. Lower the cart back to the ground.
Before taking the cart for a spin, double - check that all the tools are removed from around the cart. Then, take the cart for a short test drive. Test the brakes at different speeds and on different surfaces. Make sure the brakes feel responsive and that the cart stops smoothly.
Our Electric Golf Cart Offerings
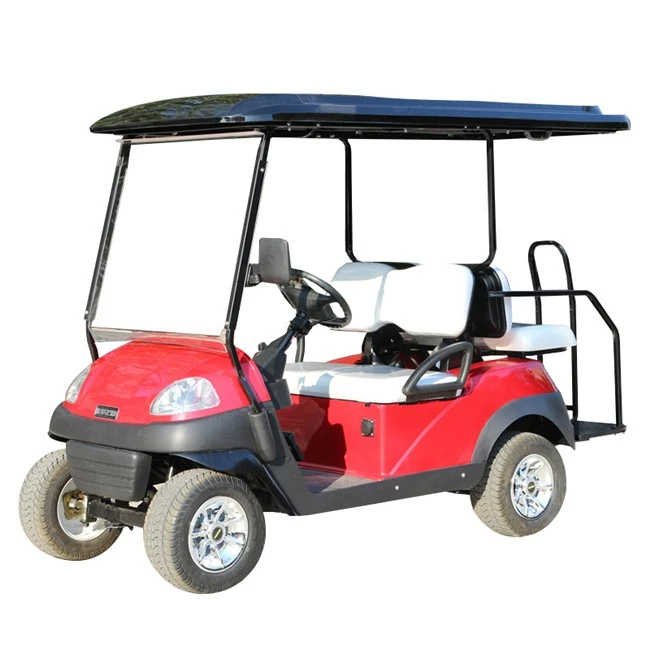
As a 6 - person electric golf cart supplier, we have a great range of products. Check out our 5KW Off Road Golf Car, which is perfect for those who like to venture off the beaten path. If you specifically need a 6 - seater, our 6 Seater Golf Cart Electric is a top - notch choice. And for those who need a bit less seating, our 4 Seater Off Road Golf Car is also available.
Conclusion
Checking the brakes of a 6 - person electric golf cart is not that difficult if you follow these steps. Regular brake checks can help you avoid accidents and keep your cart running smoothly. If you have any questions or need more information about our electric golf carts or brake maintenance, feel free to reach out. We're here to help you with all your golf cart needs and are open for procurement discussions.

References
- "Golf Cart Maintenance Guide" - A general guide on maintaining different parts of a golf cart.
- "Brake System Basics" - An article explaining the working principles of brake systems in vehicles.